描述
Features:
1.Using stepper motor drive pointer, with instructions of high precision, repeatability and versatility, reliability and stability, drive and control is relatively simple, etc.
2.Stepper motor is used for full range of stepping gauges, has advantages of less power consumption, longer life, higher precision and so on.
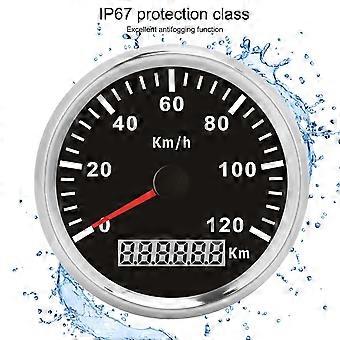
3.Adopting 316L stainless steel for long?term use even in acid?base, humid environment. IP67 protection class, also with curved glass (anti?fog function).
4.With ultra?wide working voltage design, long?term operating voltage: 9?32V, maximum up to: 36V, (1min).
5.There is a snap together with the harness connector, for firmly connected, in order that the gauges could work even in strong viberation.
6.Suitable for most vehicle modification, can be used for the engines/generating units, ships, construction machinery, agricultural machinery, automotive modification, etc.
Specification:
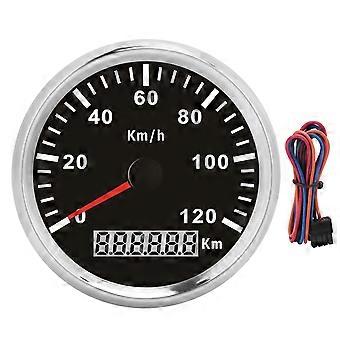
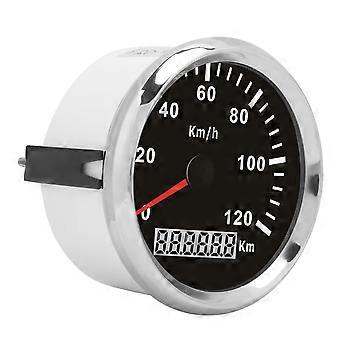
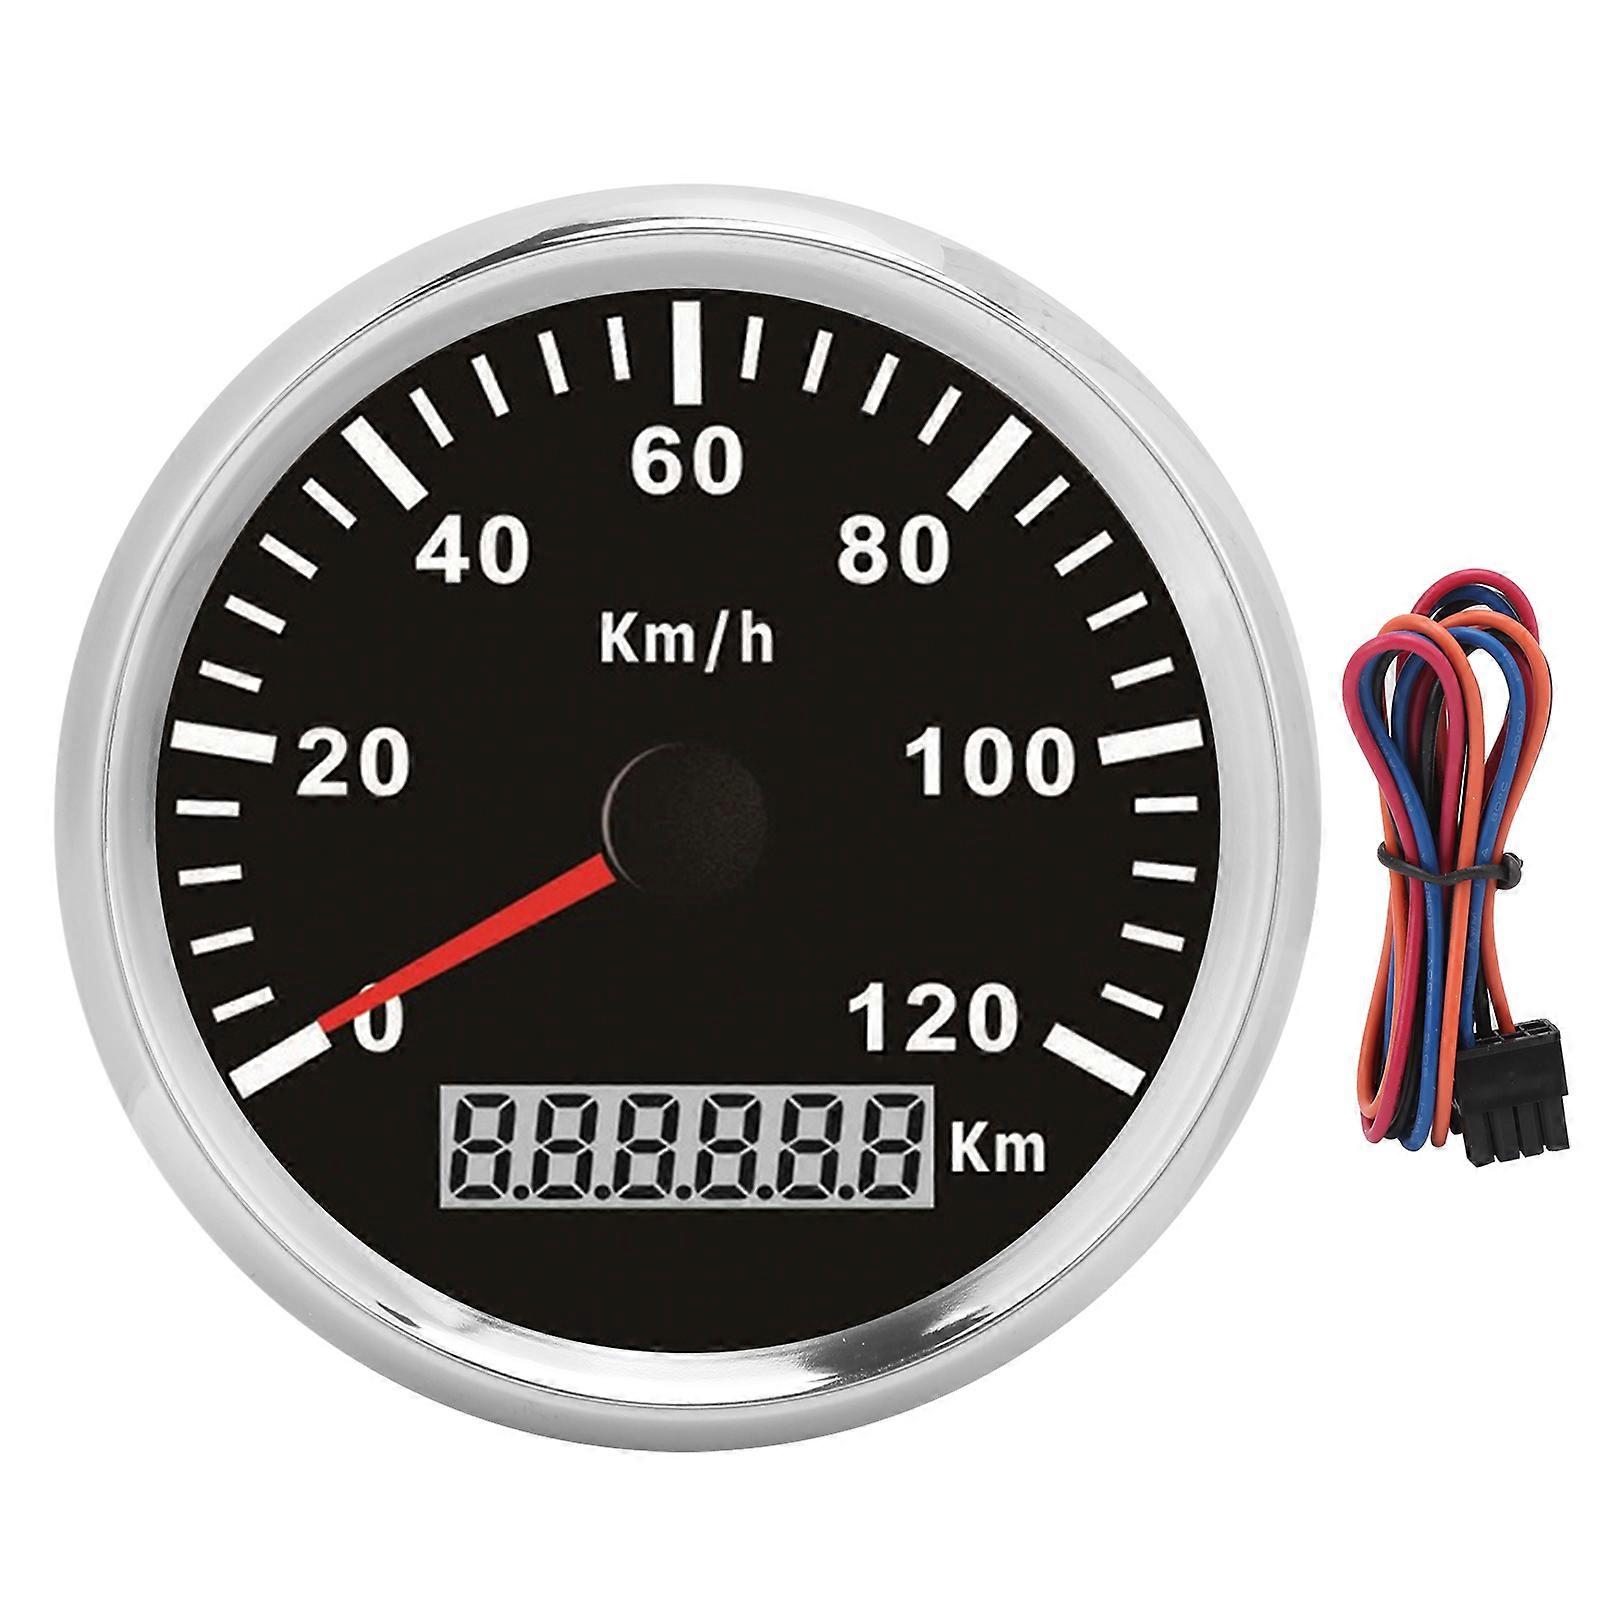
Item Type: Automotive Speedometer
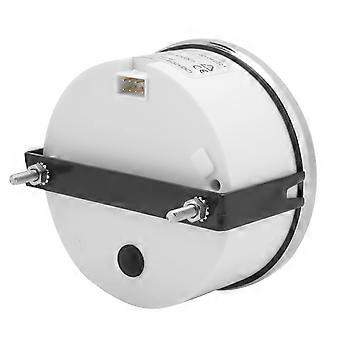
Material: Stainless Steel 316L Bezel + Anti-Fog Glass
Install Diameter: 85mm or 3-3/8in
Indication Range: 0-120KM / H
Operating Voltage: 9-32VDC
Input Signal: GPS Signal
Backlight Color: Red
Operating Current: 60mA
Operating Temperature: -30-+75
Storage Temperature: -40-+85
Protection Class: IP67, Can Work Underwater 1m / 39.4in Position
Functions:
Needle Shows Current Speed:
LED Window Shows: TRIP/COG(Choose Anyone) and ODO
TRIP01(Default): One-Trip Mileage Which Will Come Back to 0 after Power off,
TRIP02 One-Trip Mileage Which Accumulates After Power Off, But You Can Press Set Button for 3-5 Seconds to Clear the Data.
COG: Moving Direction
ODO: Recording Total Mileages Automatically and Cannot be Reset
Operation Mode: LCD Display, Stepper Motor
Installation Notes:
1. Open a hole with a diameter of 85mm on the panel (your cabin panel and instrument panel), insert the instrument into the hole, the panel corresponding to the instrument panel is marked with a boss, and open a small notch at this position, to ensure that there is at least 85mm (3-3/8in) instrument panel on the back of the instrument
2. After installing the instrument into the panel, screw down with the fixing ring
3. Connect the wires, the instrument shell is directly connected to the 12 / 24V power supply
4. Insert the wire harness and fix it firmly on the table
How to Use: Install the instrument on the instrument panel and fix it, and then turn on the power
Wiring Instructions:
Red wiring - Positive
Blue wiring - Negative
Black Signal Wiring - Sensor
Orange backlight wiring - Positive
Note:
Not include GPS
-
Fruugo ID:
323654847-717468975
-
EAN:
9368105328773