描述
Item Type: Digital Oscilloscope
<br>Input Impedance: 1MΩ
<br>Analog Bandwidth: 0-200 KHz
<br>Maximum Input Voltage: 50Vpp with 1:1 probe, 400Vpp with 10:1 probe.
<br>Power Supply: DC 9V
<br>Maximum Real Time Sampling Rate: 1Msps
<br>Signal Source: Provide 1Hz/3.3V square wave test signal source.
<br>Accuracy: 12 Bit
<br>Sampling Buffer Depth: 1024 bytes.
<br>Vertical Sensitivity: 5mV/Div-20V/Div in 1-2-5 increments, vertical displacement can be adjusted according to the instructions.
<br>Coupling Mode: DC, AC, GND.
<br>Horizontal Time Base Range: 10μS/Div-500s/Div in 1-2-5 increments.
<br>Features:
<br>1. It has automatic, conventional and single shot modes, and is easy to catch instantaneous waveforms.
<br>2. Available rising or falling edge triggers.
<br>3. Adjustable trigger horizontal position, which can be adjusted according to the instructions.
<br>4. Observable previous trigger waveform, negative delay.
<br>5. Waveform display can be fixed at any time with HOLD function.
<br>
<br>
<br>How to Use:
<br>1. Button function:
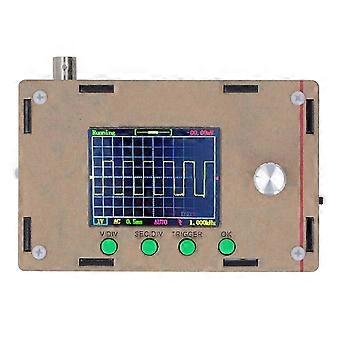
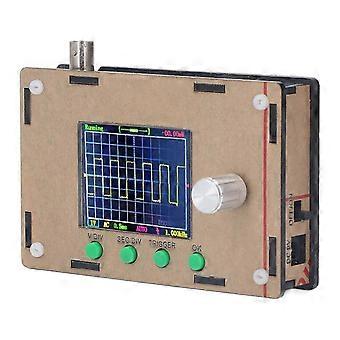
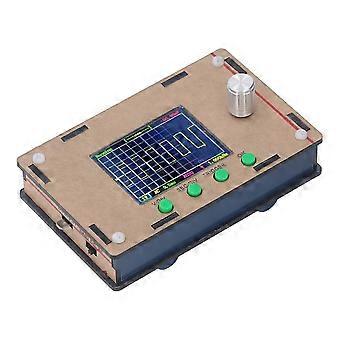
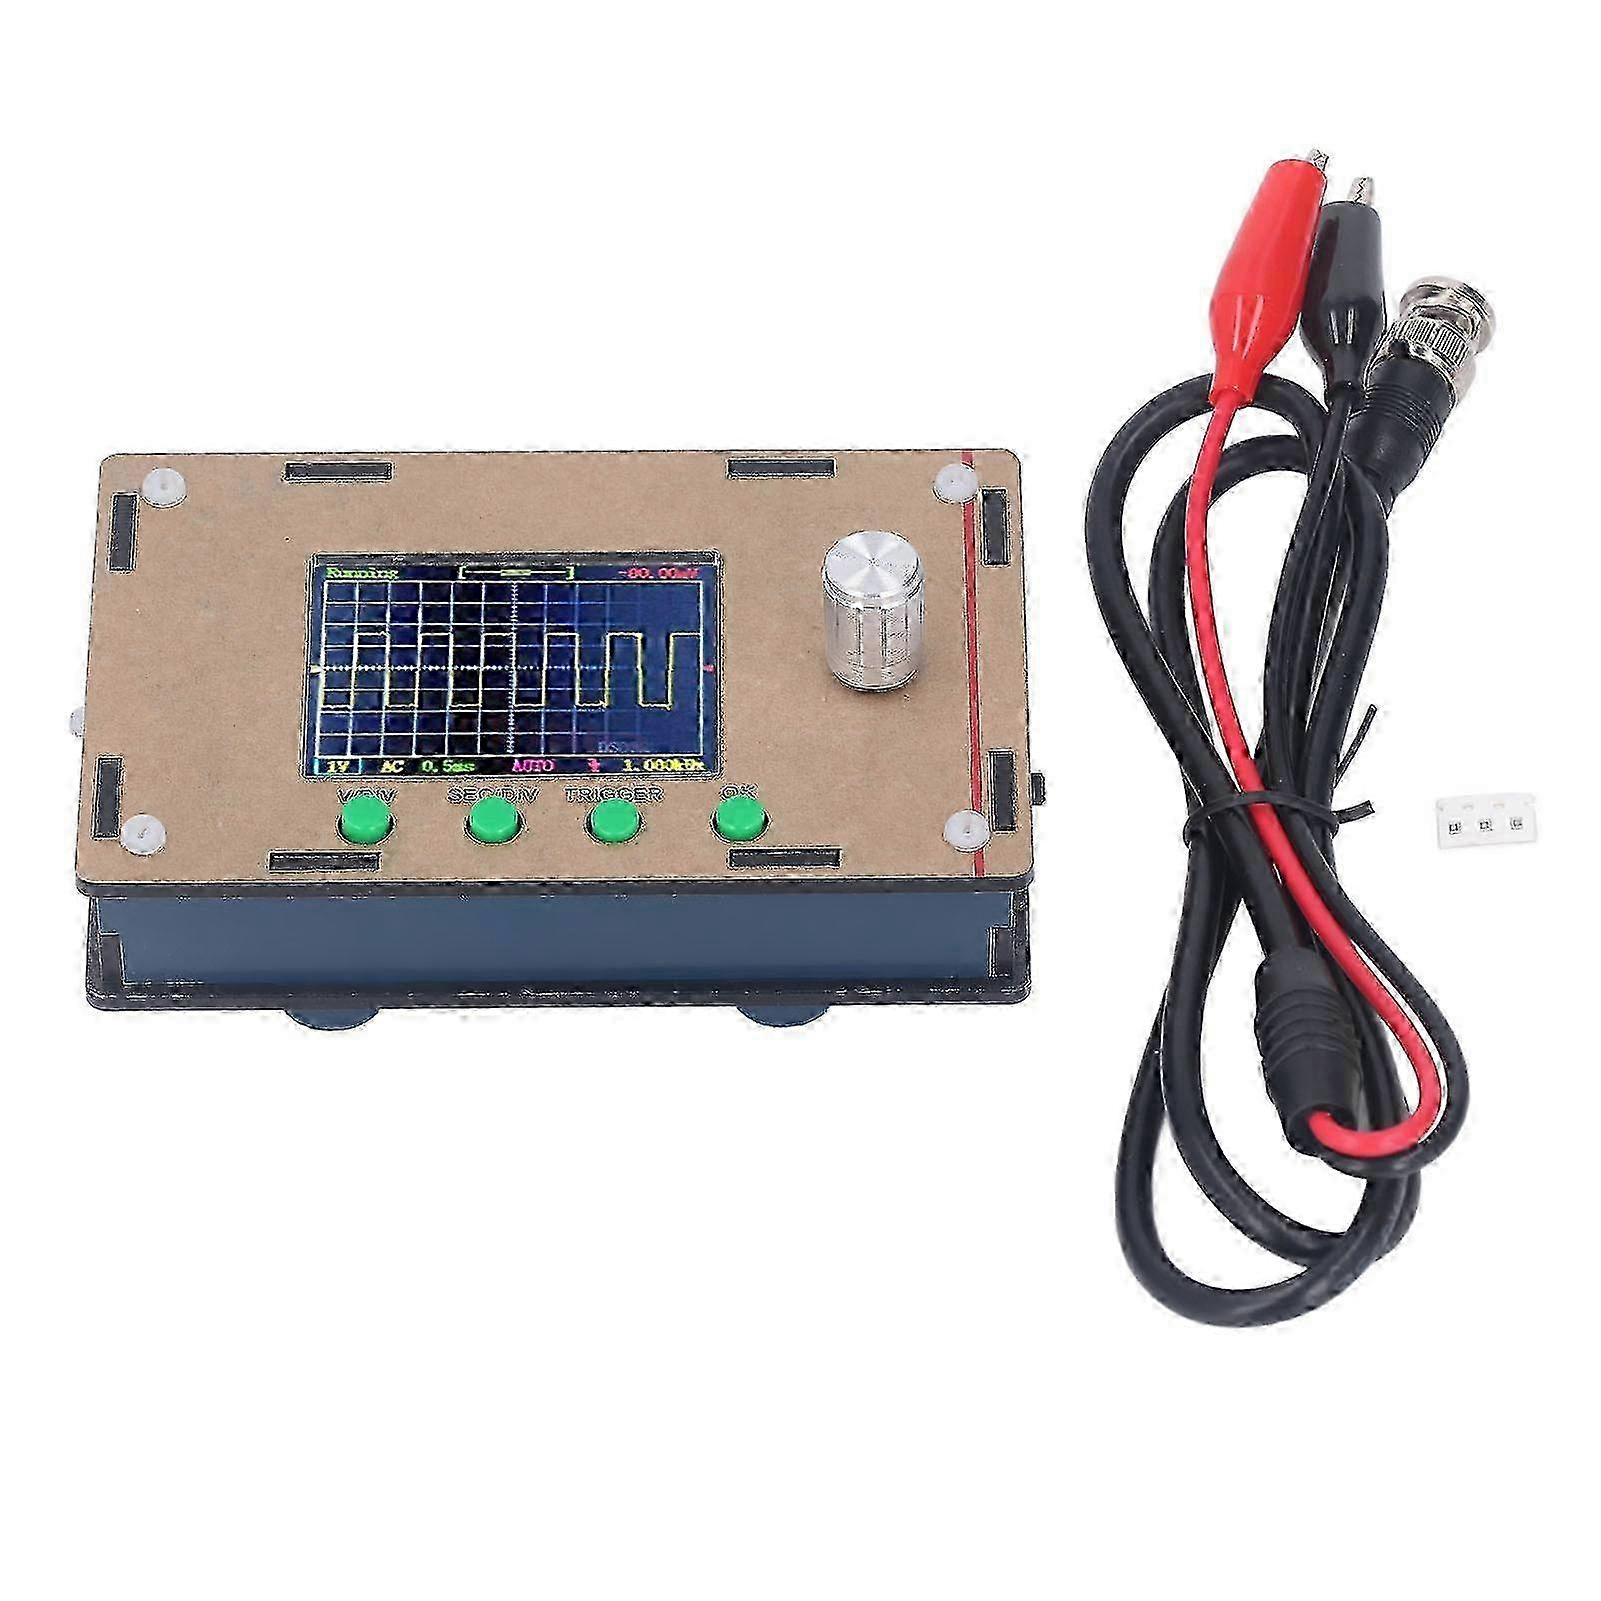
<br>V/DIV: Sensitivity and vertical position selection.
<br>SEC/DIV: Select time base and horizontal position.
<br>TRIGGER: Select trigger mode, trigger level or trigger edge.
<br>OK: Press once to enter the HOLD function, and press a second time to exit the HOLD function.
<br>ADJ: Direction key, turn left and right to select parameters, and the selected parameters will be highlighted.
<br>GND DC AC: The coupling can be switched to DC, AC or GND. When it is switched to GND, the oscilloscope input is disconnected from the external input and connected to the ground, that is, the input is 0V.
<br>2. Function Operation:
<br>Vertical Position Alignment: Switch to GND, long press V/DIV for 3 seconds.
<br>Parameter Bar Opening or Closing: Press and hold the OK key for 3 seconds to open or close the parameter bar.
<br>Save Waveform: Press OK and TRIGGER at the same time, and the current waveform will be saved in EEPROM. The original data will be replaced.
<br>Read Waveform: Press OK and SEC/DIV at the same time to read the waveform and save it in EEPROM. Displayed in HOLD mode.
<br>Restore Default Settings: Press SEC/DIV and TRIGGER for 3 seconds.
<br>Center Horizontal Position: Press SEC/DIV for 3 seconds, and center horizontal position in the center of waveform buffer.
<br>Centering the Trigger Level: Long press TRIGGER for 3 seconds, and the trigger level will be centered in the center of the signal amplitude.
<br>3、 Probe Compensation Adjustment:
<br>Adjust the Trimming Capacitors C3 and C5:
<br>1. Connect the red clip of the probe to the signal output terminal, and the black clip is not connected to the oscilloscope.
<br>2. Power on and start, press and hold the ADJ knob for 3 seconds. The amplitude of the output test signal is displayed at the bottom of the screen, and then press ADJ to adjust the amplitude to 0.1V.
<br>3. Set the sensitivity to 50mV, and adjust the trigger level to stabilize the waveform.
<br>4. Adjust C3 to make the wave form a right angle. C3 adjustment completed.
<br>5. Adjust the amplitude to 3.3V according to ADJ, set the sensitivity to 1V, and adjust C5 to make the wave form a right angle.<br>1、High Performance: Comes with 200Khz bandwidth and 1MSa/s sampling rate, the digital oscilloscope ensures excellent performance in testing.
<br>2、Colorful Screen: The 2.4in LCD color display has 320 x 240 resolution, making the graphic display clearer and the operation much easier.
<br>3、3 Shooting Modes: With automatic, regular and single shot modes, the oscilloscope is easy and accurate in catching instantaneous waveforms.
<br>4、Extensive Using: Widely used in academic experiments, electronic maintenance, electronic engineering and so on, meeting your various needs.
<br>5、Simple Carrying: A compact size together with a
Note: Due to the light and screen setting difference, the item's color may be slightly different from the pictures. Please allow slight dimension difference due to different manual measurement. Sold by-Dadangjia
-
Fruugo ID:
415430343-877019796
-
EAN:
6249961255393